Newsletter Subscribe
Enter your email address below and subscribe to our newsletter

All voices matter
Installing a sauna at home can turn an unused room, basement, garage, or outdoor area into a dedicated relaxation space. However, choosing a sauna is only part of the process.
Before the sauna arrives, you need to prepare the installation area, check measurements, review electrical requirements, and make sure the location is suitable for the sauna you plan to install.
Good preparation can make installation easier and help avoid unexpected problems later.
The first step is deciding where the sauna will be installed.
Common indoor locations include:
Outdoor saunas can be placed in:
The best location should provide enough space for the sauna itself as well as access for installation and future maintenance.
Before ordering a sauna, measure the available space carefully.
Record:
Do not rely on estimated measurements.
A difference of only a few inches can determine whether a sauna will fit comfortably.
You should also check whether the sauna door can open fully once the unit is installed.
One of the most overlooked parts of sauna installation is getting the sauna into the desired location.
Before purchasing, inspect the entire route from the delivery point to the installation area.
Measure:
If the sauna arrives as a prefabricated unit, check whether it can be moved through your home as a complete structure.
Some sauna kits arrive as individual wall and ceiling panels, which can make transportation easier.
The installation surface should be stable, level, and suitable for the sauna.
For an indoor sauna, the existing floor may be sufficient depending on the sauna design and manufacturer’s requirements.
For an outdoor sauna, additional preparation may be necessary.
Possible foundation options can include:
The correct foundation depends on the sauna design, local conditions, and manufacturer recommendations.
Electrical requirements are particularly important for electric sauna heaters.
Before installation, determine:
Do not assume that an existing household outlet will be sufficient.
Some sauna heaters require dedicated electrical circuits and professional installation.
A qualified electrician can determine whether your home’s electrical system is suitable for the selected sauna equipment.
Ventilation should be considered before installation rather than after the sauna is already assembled.
A sauna needs appropriate airflow to maintain a comfortable environment.
The exact ventilation design depends on the sauna type, heater, room layout, and manufacturer’s instructions.
Make sure ventilation openings will not be blocked by walls, furniture, or other objects.
For an indoor sauna, also consider how the surrounding room will handle heat and moisture.
Ceiling height can affect the sauna experience and installation process.
Traditional saunas often require sufficient vertical space for the heater, benches, and proper air circulation.
Before purchasing, compare the sauna’s required installation height with the actual ceiling height of your room.
Pay particular attention to:
These details can reduce the usable installation area.
The area around the sauna should remain accessible.
Avoid placing the sauna directly against obstacles that make maintenance difficult.
Leave suitable access around:
The exact clearance requirements should always come from the sauna and heater manufacturer.
Lighting can have a major impact on the atmosphere inside a sauna.
Many home saunas use warm, low-level lighting to create a relaxing environment.
Before installation, decide whether you want:
Any electrical components installed inside a sauna must be specifically suitable for the temperature and environment.
Do not install ordinary household lighting fixtures in areas where they are not rated for sauna conditions.
Traditional saunas are generally not as wet as steam rooms, but moisture can still be introduced through cleaning, perspiration, and water added to sauna stones.
For indoor installations, consider how moisture will be managed in the surrounding room.
Outdoor installations should also have suitable drainage so rainwater and other moisture do not collect beneath the sauna.
Keeping the surrounding area dry can help protect the structure and flooring.
The heater location should be planned before installation.
For traditional saunas, heater placement affects:
Follow the manufacturer’s required clearance around the heater.
Do not place towels, wooden objects, or other combustible materials too close to the heater.
Once the main installation is planned, think about the accessories you want to use.
Common sauna accessories include:
Not every accessory is necessary, but the right combination can make the sauna easier and more comfortable to use.
A few days before installation, complete a final inspection.
Confirm that the sauna dimensions match the available space.
Remove furniture, boxes, equipment, and other obstacles.
Make sure electrical and ventilation preparations are complete.
Keep doors, hallways, and stairs clear.
Read the manufacturer’s instructions before the installer arrives.
This can help you understand what will be required during assembly.
Some smaller sauna kits are designed for relatively simple assembly.
Others require more complicated electrical, structural, or ventilation work.
DIY installation may be suitable when the manufacturer specifically provides instructions for it and the required work is within your experience.
Professional installation may be preferable when the project involves:
Always follow local building and electrical requirements.
A sauna may look small in photographs but require more space than expected.
The installation location may be accessible while the route to it is not.
The heater may require more electrical capacity than the existing circuit provides.
Furniture, walls, or other objects can interfere with airflow.
Limited access can make cleaning and maintenance more difficult.
Electrical components and lighting must be appropriate for sauna environments.
Not every room is suitable. The location needs appropriate space, ventilation, electrical access, and a suitable installation surface.
Some electric sauna heaters require dedicated circuits or specific electrical connections. Check the heater specifications and consult a qualified electrician when necessary.
It depends on the sauna model and floor construction. The installation surface should be stable and meet the manufacturer’s requirements.
Proper ventilation is an important part of sauna design. The exact requirements depend on the sauna and heater.
Some sauna kits are designed for DIY assembly, while others require professional installation. Electrical and structural work may require qualified professionals.
Preparing your home before installing a sauna can save time and prevent many common installation problems.
Start by choosing an appropriate location and measuring the complete space. Then check the delivery route, floor, electrical requirements, ventilation, ceiling height, and heater placement.
It is also important to follow the manufacturer’s installation instructions and local requirements.
A well-prepared installation area gives your sauna a better foundation and makes it easier to enjoy and maintain the finished space.
WordPress SEO Settings
Title: How to Prepare Your Home for a Sauna Installation
Slug: how-to-prepare-your-home-for-a-sauna-installation
Category: Sauna Buying Guides
Meta Title: How to Prepare Your Home for a Sauna Installation
Meta Description: Learn how to prepare your home for a sauna installation, including space, flooring, electrical requirements, ventilation, delivery access, and heater placement.
Recommended Featured Image:
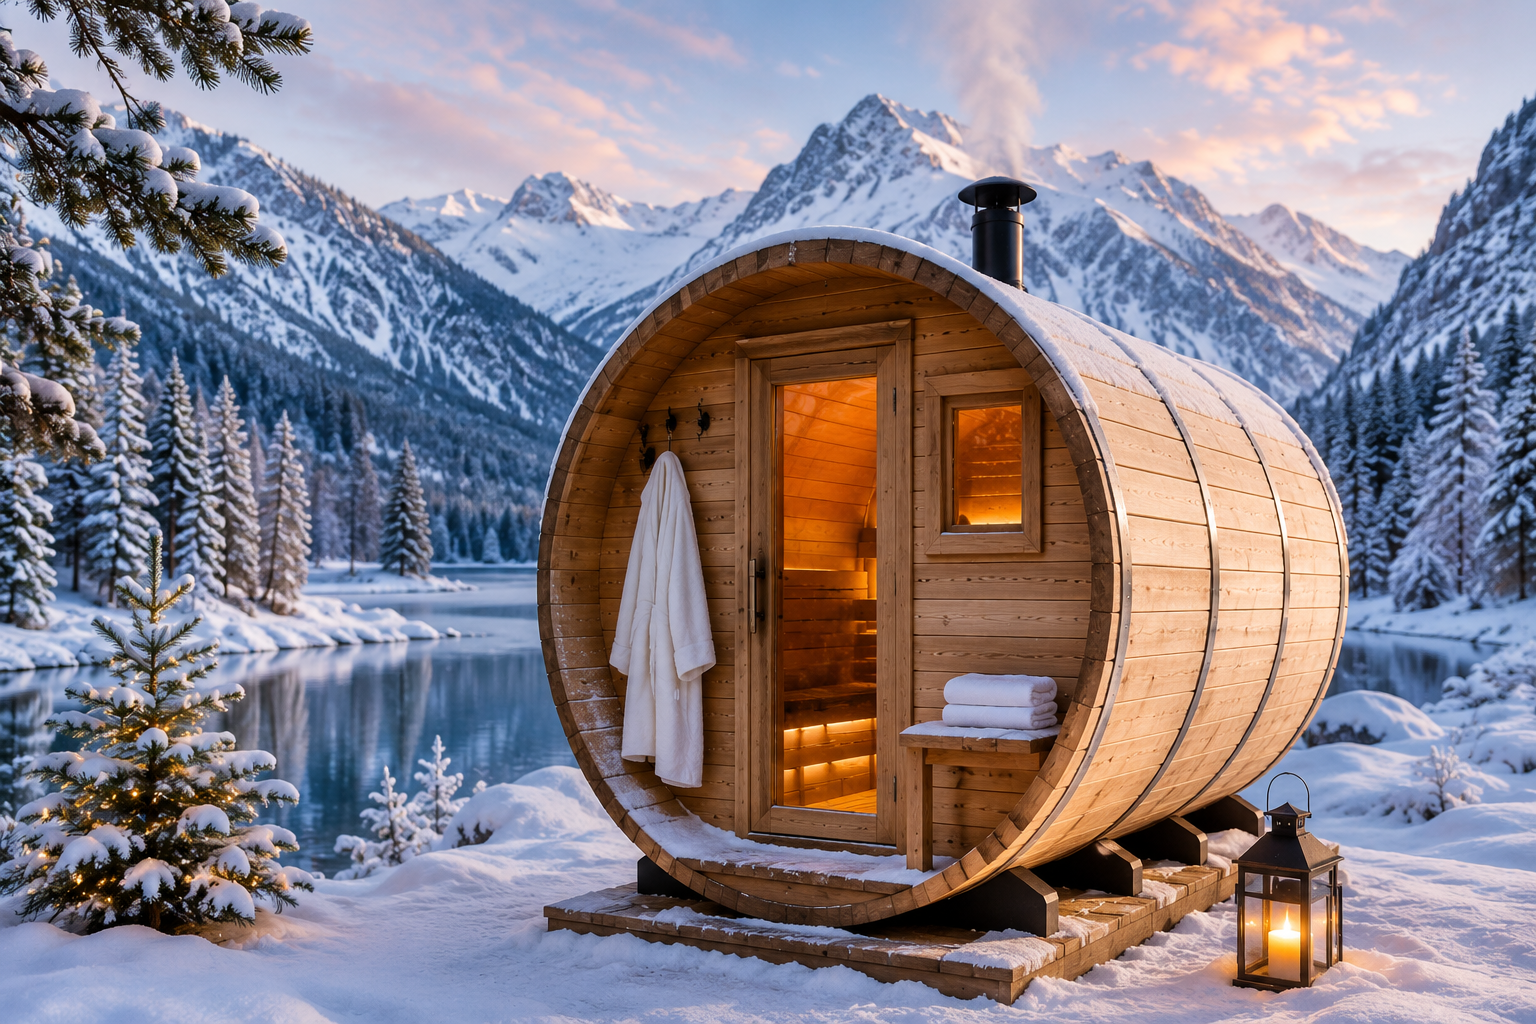
A modern outdoor sauna being prepared for installation, preferably showing the sauna structure, surrounding space, foundation, and a clean residential setting.