
Newsletter Subscribe
Enter your email address below and subscribe to our newsletter

All voices matter
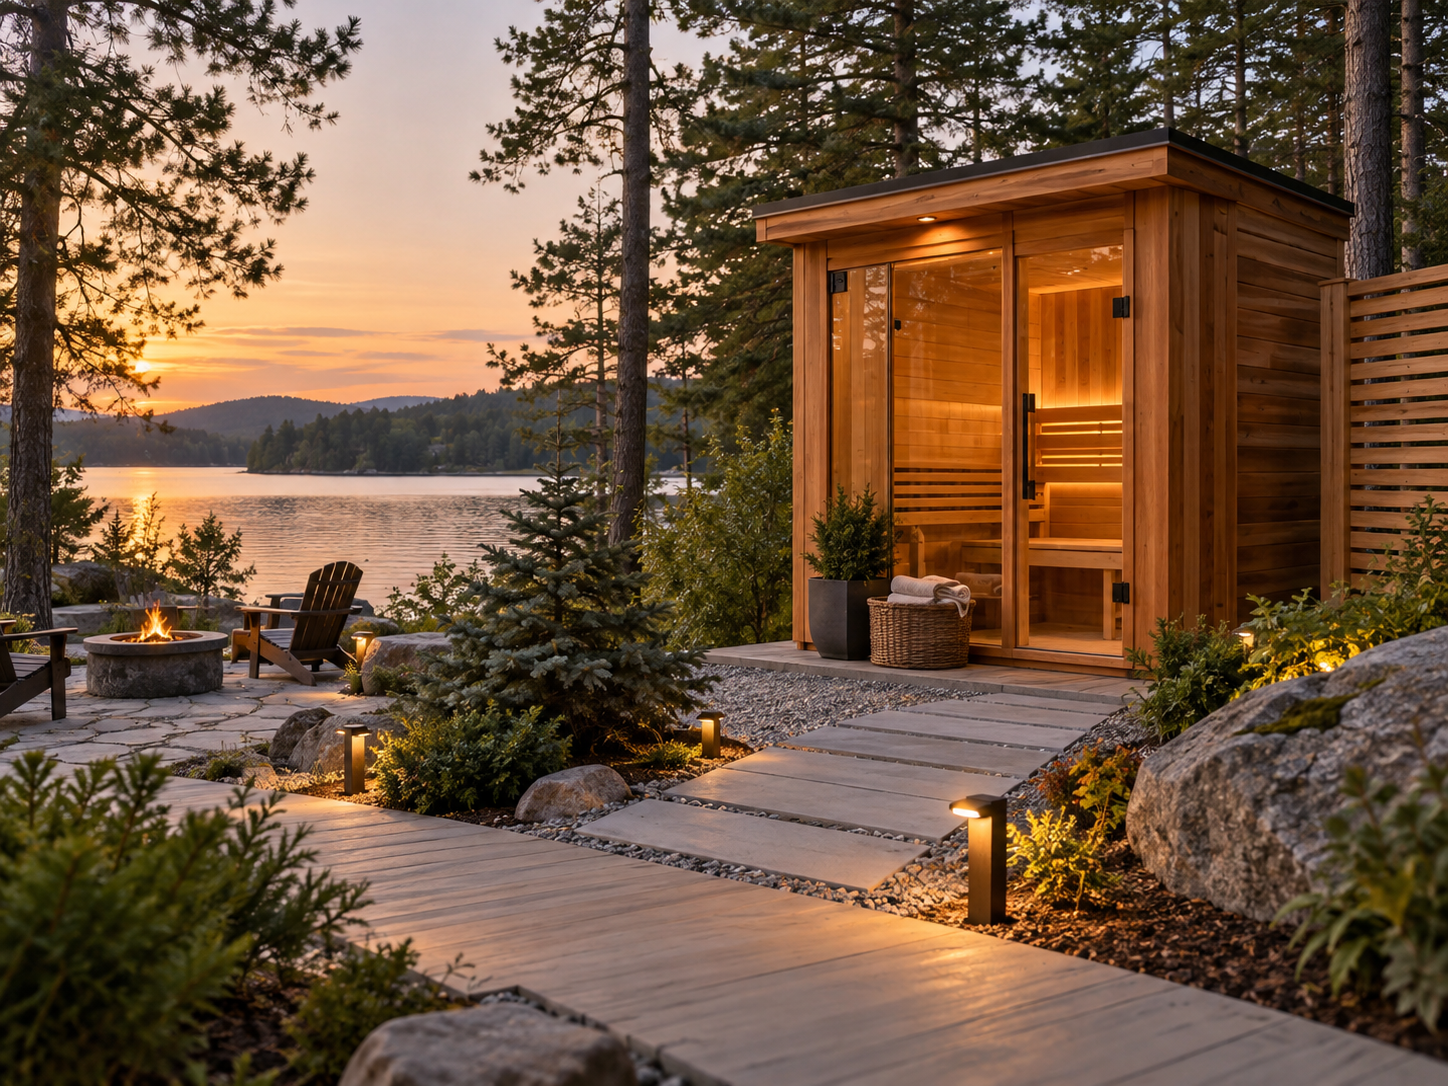
Installing an outdoor sauna can completely change the way you use your backyard, but the success of the project often depends on what happens before the sauna arrives.
Choosing a model is only part of the process. You also need to think about placement, foundation, drainage, electrical access, privacy, ventilation, weather exposure, and the route used for delivery.
A little planning in advance can make installation easier and help prevent expensive changes later.
Here is a practical guide to preparing your backyard for an outdoor sauna.
Start by identifying several possible locations rather than choosing the first empty corner of your yard.
A good outdoor sauna location should be:
Think about how the sauna will feel during actual use.
A location that looks convenient in summer may feel very different when you need to walk across a wet or icy yard in winter.
If possible, create a clear path between the house and sauna.
Before preparing the site, check whether your local area requires permits or has rules affecting detached structures.
Requirements can vary depending on:
A small prefabricated sauna may be treated differently from a permanently constructed backyard building.
If you are using a wood-burning stove, local fire and chimney requirements are especially important.
Planning this early is much easier than moving a completed sauna later.
An outdoor sauna needs a level and durable base.
The foundation keeps the structure stable while also reducing exposure to ground moisture.
Common foundation choices include:
| Foundation Type | Best For | Advantages | Considerations |
|---|---|---|---|
| Concrete Slab | Permanent cabin saunas | Very stable and durable | Higher cost and preparation |
| Concrete Pavers | Small to medium saunas | Affordable and relatively simple | Ground must be carefully leveled |
| Gravel Pad | Barrel and prefab saunas | Good drainage and lower cost | Requires proper compaction |
| Concrete Piers | Uneven or sloped ground | Keeps sauna above ground moisture | More complex installation |
| Deck Foundation | Integrated backyard designs | Attractive and convenient | Must support sauna weight |
Whatever foundation you choose, make sure it can support the total weight of the sauna, heater, stones, and occupants.
The surface should be level before installation begins.
Water around the foundation is one of the biggest long-term concerns for an outdoor structure.
Rainwater and snowmelt should move away from the sauna instead of collecting underneath it.
Consider:
Avoid placing the sauna at the lowest point in the backyard.
Good drainage helps protect both the foundation and exterior wood.
Your heater affects where the sauna can go and what preparation is required.
An electric heater usually requires an appropriate electrical supply and may need a dedicated circuit installed by a qualified electrician.
The farther the sauna is from the house, the more complicated the electrical installation may become.
Wood-burning sauna stoves require additional planning for:
If you have not selected a heater yet, review your Sauna Heaters section before finalizing the backyard location.
Internal Link #1: Link “Sauna Heaters” to your Sauna Heaters page.
Outdoor sauna use often involves moving between the house, sauna, shower, pool, or cooling area.
Privacy should therefore be considered before installation, not after.
You can create privacy with:
Try not to completely block the sauna from the surrounding landscape.
A well-designed screen can protect the areas that need privacy while preserving garden, lake, or forest views.
Do not fit the sauna tightly between fences, walls, or landscaping.
You may eventually need access to:
Leaving maintenance space around the sauna will make future repairs and cleaning much easier.
It can also improve airflow around the exterior structure.
Good ventilation is essential for comfort, air quality, and moisture management.
Ventilation requirements depend partly on your heater and sauna design.
You should know where intake and exhaust vents will be located before placing landscaping, privacy walls, or other structures around the sauna.
Blocked ventilation can reduce performance and make the sauna feel uncomfortable.
Internal Link #2: Link this section to Sauna Ventilation Guide: Why Airflow Matters in a Home Sauna.
A safe walkway makes an outdoor sauna much more practical throughout the year.
Materials can include:
Avoid surfaces that become extremely slippery when wet.
Consider adding low-level pathway lighting for evening sauna sessions.
If the sauna entrance is elevated, install stable steps and a handrail where appropriate.
The space immediately outside the sauna deserves attention too.
You do not need a large patio. Even a small area with a bench or chairs gives users somewhere to cool down between sauna rounds.
Possible additions include:
This makes the overall sauna experience feel more complete.
Outdoor saunas experience more environmental stress than indoor models.
Look at how your chosen location is affected by:
Natural shade can be useful, but avoid placing the sauna directly beneath unhealthy or unstable trees.
In very exposed locations, roof overhangs or wind protection may improve durability and comfort.


